How to insert a date in Word? The Word text editor has functions that are needed only when creating business documents. But this does not mean that they are not needed at all. How much more needed! After all, it is on the little things that we spend the most time and nerves. We remember well what we have to do constantly, but if we rarely have to do something, then memory often fails us. Therefore, if something has been done once, it will most likely need more. In such cases, it is better not to be lazy and write down your actions in some notebook. Take at least such a trifle as inserting a date into Word.
There is nothing difficult in this.
You can quickly insert a date in all versions of Word with just one press of certain keys on the keyboard. These are the magic keys:
Alt+Shift+D
One has only to press these keys simultaneously, and the date will immediately appear in the place where you had the cursor.
But if you are not satisfied with the format that appears automatically, then you have to sweat a little.
Insert date inWord 2003
We set the cursor to the place where we need to insert the date;
Open the menu tab Insert and choose the item date and time ;
In the next window of the same name date and time in the formats window, select the required format, check the box below Update automatically and press the button OK ;

In the event that you just need the date of the document, then check the box Update automatically do not set, otherwise, each time the document is opened, it will change to the current one;
IN Word 2007 And 2010 the date is set via headers and footers. To do this, you need to open the tab in the top menu Insert and find there Headers and footers . Set the footer you like, and already put the date in it.
In this regard, I'm old Word 2003 like more. Somehow it is more understandable and humane.
Here's a tricky way to insert a date into Word .
Microsoft Word- This popular app text editor used in schools, homes, offices and many other places. Users can create brochures, reports, books and even web pages using this software. To keep track of the date and time when saved word document, You can insert a timestamp. The date and time can also be set to automatic update. Here's how it's done.
Instruction
- 1 From top line MS Word menu, select Insert > Date and Time... The date and time are reflected in the window.
- 2 Check the available sizes. Some of them are date changes and others are time changes. We will look at how to insert the date first, then the time.
- 3 Select the desired date format.
- 4 Check the Automatic Updates checkbox if you want Word to change the date to the current date each time the document is opened and saved.
- 5 Press OK to insert the date. Adjust the position on the page.
- 6 From the top menu bar of MS Word, select Insert > Date and Time... again to display the date and time window.
- 7 Select the desired time format.
- 8 Check the box on Automatic Update if you want Word to change the time to the current time each time the document is opened and saved.
- 9 Click OK to insert the time into your document. Adjust the position on the page.
Replacement current date and time in a document may be needed for several reasons. You may want to insert the date into the email, or add it to the top or footer. Whatever the occasion, you can easily insert the date and time into a Word document.
If you want the date and time to automatically update when you open or print a document, insert it as an automatically updated field. You can manually update the field at any time.
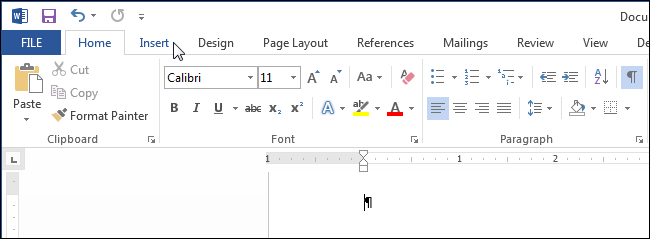
To insert the date and time into a document, create a new or open an existing Word document and click the Insert(Insert).
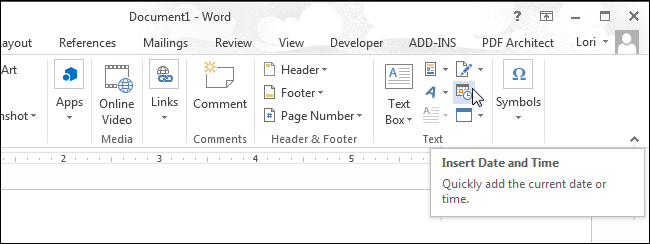
In chapter Text(Text) click the button date and time(Date & Time).

Note: You may need to expand Word window to see the button on the ribbon date and time(Date & Time). If you cannot make the window wider, you will have to look for a button with such an icon, as shown in the picture below. When there is not enough room on the ribbon for an entire button, only its icon is displayed.
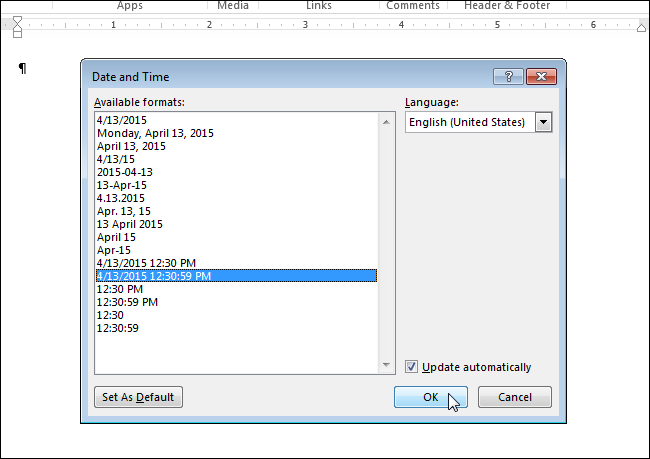
A dialog box will open date and time(Date and Time). Select a date or time format (or both) from the list provided. To update the date and time automatically, check the box next to Update automatically(Update automatically). Click OK.
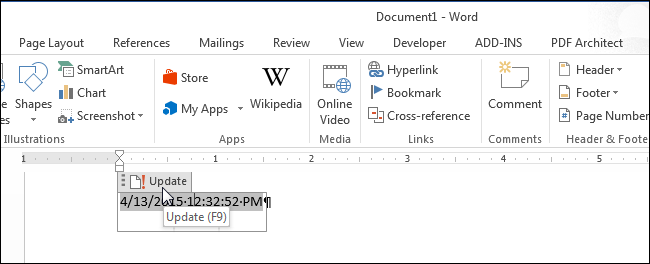
The date and/or time will be inserted into the document. If you choose to update automatically, they will be inserted as a field. If you place the cursor in the field, a button will appear at the top. Refresh(Update), which allows you to update the field value manually at any time. If the cursor is not in a field, you can update it by pressing the key F9.
If one day you no longer need automatic updating of the date and time, select the field or place the cursor in it and press Ctrl+Shift+F9 to unbind the field. Perhaps, before deleting the link, it is advisable to update the field in order to enter the current ones on this moment date and time values.